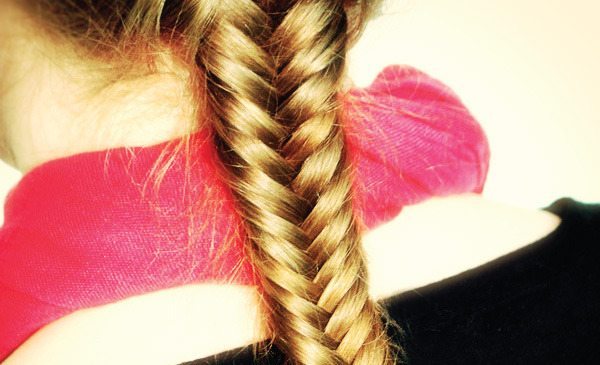
From fishtails and waterfalls to Dutch braids and milkmaids, there are a slew of different braid styles out there—and the options are growing by the day! Worn by celebrities and everyday girls heading to school, a plait is an easy-to-achieve look that anyone can perfect.
It can safely be said that the fishtail braid or plait is a longstanding favourite. Whether perfectly neat or purposely messy, the texture and seemingly complicated pattern of this sea-inspired style provide a refreshing visual twist on your typical 3-strand weave. JOZ Salon & Spa shows you the basics.
STEP 1
Brush & Section
Detangle and brush out your hair so it’s easy to handle. Divide the hair into two even sections starting from the middle of the scalp.
STEP 2 + 3
Weave From The Right
You can begin braiding from either side, but we’re starting from the right. Use your pinky and ring finger to grab a small section of the hair (approximately 1/4″ inch) from the back of the right side. Add this section to the left side by folding it over with your left hand.
STEP 4 + 5
Weave From The Left
After you’ve added a strand to your left side, take your left pinky and grab a 1/4″ strand from the back of the left section. Fold it over and add it to your right section. Make sure these first few strands are tighter so you get comfortable with the process and nothing falls loose.
STEP 6
Continue Weaving and FInish Up
Continue weaving strands from the left and right. To end your braid, secure it with an elastic band or a clip.

